
Are you a mac user? Have you used the Cover Flow feature in Finder? You can activate Cover Flow by pressing Command+4. In Cover Flow, each item will flow from right to left. At the beginning, it looks smaller. Then it turns bigger at the center. Finally, it becomes smaller again as it leaves the stage. We can actually easily achieve the same effect in Keynote using Magic Move. Today, I will show you how.
Icons used in this demo were created by nukul from the Noun Project.
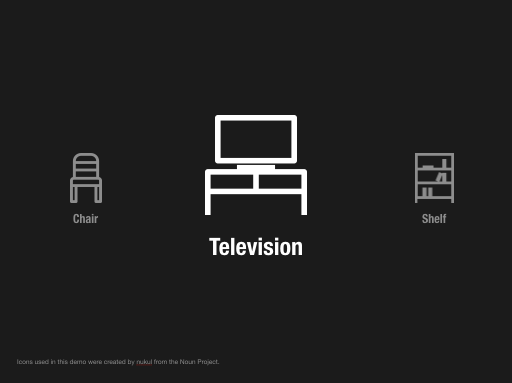
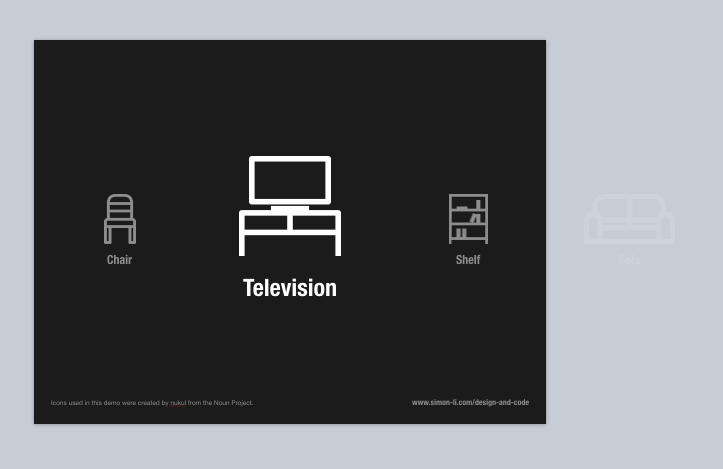
Final Effects
Here’s how Cover Flow looks like in Keynote. Isn’t it Awesome?
The Basic Approach
Similar to the rotating circles animation we designed previously, the key to creating the cover flow animation is to define the keyframes on each slide. Then we can apply Magic Move to let one slide transition to the next.
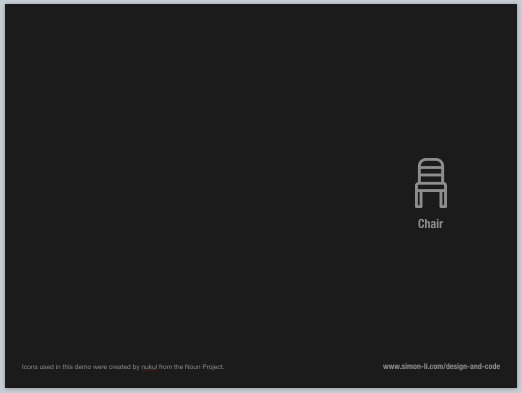
Since an item appears smaller at first, we can scale an item to half its original size and put it on the right of the slide. We don’t want it to stand out at the beginning, so we set its opacity to 50%.
On the next slide, we move this item to the center, and change it’s opacity back to 100%.
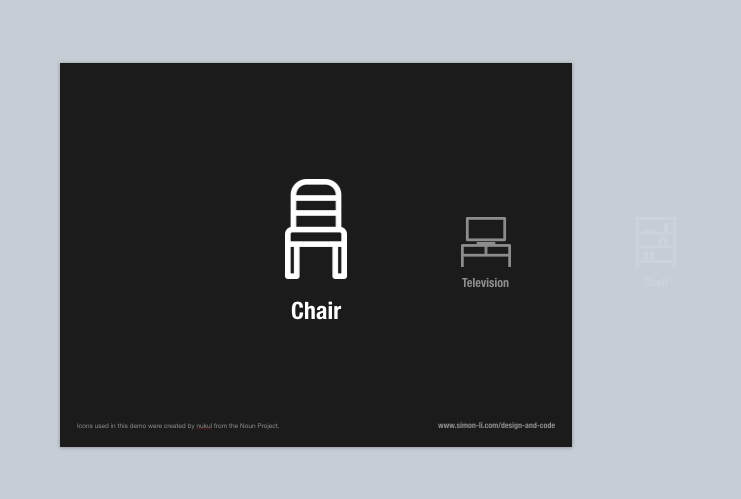
The second slide with the first three items on it.On this slide, the second item should appear on the right, so we add the second item, scale it to half its original size and also set its opacity to 50%.
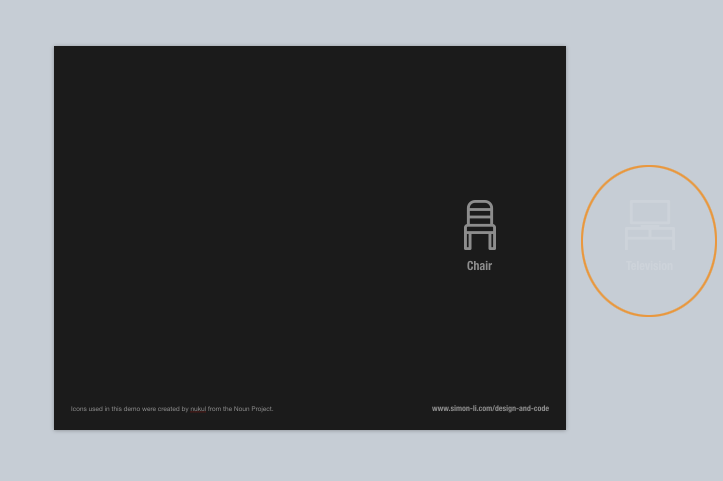
Since we also want the second item to slide in from the right, we now copy the second item, paste it back to the first slide and move it off the right edge of the slide.
On the third slide, the first item will become smaller and appear on the left. We also set its opacity to 50%. The second item will appear at the center and be restored to its original size, and the third item will appear on the right.
Now, you should get the gist of it. Repeatedly create slides where items appear smaller and faded both on the left and on the right, and the center item is bigger and has an opacity of 100%.
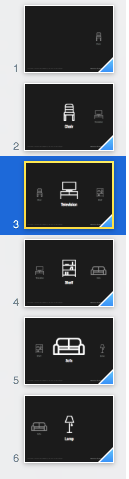
When all the keyframes / slides are created, we can apply Magic Move as the transitions between slides. Then our animation is finished.
Download
You can download the Keynote file for this animation here.
Final Thoughts
I have now shown you two examples of animation design in Keynote: rotating circles and Cover Flow. With these animations, you can make your deck more appealing to the audience. Keynote is also a great tool for prototyping animations. If you have used it to create some amazing animations, join the discussion and let me know.
Do you like this article? Is it useful to you? Leave a comment below, and share it with your friends if you like it. Thanks for reading.
You can also find this article at: http://www.simon-li.com/design-and-code/animation-design-in-keynote-cover-flow/